Whether you’re using 3D printing to prototype your company’s latest product, 3D printing a Catan board or even just to create miniatures for tabletop gaming, taking steps to ensure that your first layer is perfect is vital to ensuring that you get the best results out of your 3D printer.
Levelling your print bed is one of the most critical steps that you can take to boost the quality of your prints, and is an especially important skill when attempting more complex 3D printing projects.
How can you tell a 3D printer bed is levelled? What is the best way to level a 3D printer? Can this process be automated?
In this guide, we’ll give you a step-by-step rundown on how to level your 3D printer. Let’s go!
What is 3D printing?
It used to sound like a technology from the far future, with people imagining printing a ham sandwich and using holodecks to practice combat. Well, we're a little far from these activities, but the future is well and truly here for thousands of people, and 3D printing is used widely among hobbyists and professionals today.
A 3D printer is a piece of hardware that constructs a three-dimensional product out of plastic or resin. It follows instructions from a digital 3D or Computer Aided Design (CAD) model.
It’s favoured by hobbyists and product designers as it’s a much faster, and cheaper process than building plastic moulds and using injection moulding techniques. This process is completed by layering material sequentially and fusing those layers of plastic together.
The printer will build an object up through layer-after-layer (or slices) until the object is fully created, which is why ensuring that your printer bed is level is so important.
(If you’re looking to get started with 3D printing, CCL’s beginner’s guide on 3D printing and our guide to buying the right 3D printer will be able to help get you started.)
Why should you ensure your printer bed is levelled?
Working with an incorrectly levelled printer can cause catastrophic printing errors and destroy your final product.
An unlevel bed means that the distance between the printer nozzle and the build plate will be different across the plate. If you're set up in a shed with half-finished cups of coffee hanging around, and an uneven workbench, you may have to change your ways. With an unlevel bed, in some places the nozzle will be closer to the build plate, but in other places, it’ll be further away. It doesn't make for a good end result, and will waste a) materials and b) time.
Credit: prusa3d.com
A 3D printer is collaborated to work with a completely level print bed, and most models won’t be able to detect this misalignment. This will mean that the first layer of the print will be uneven and inconsistent.
If the first layer is off, it will most likely result in a ruined print. That’s why it’s so important to level your printer before you start printing.
Luckily, it’s a fairly simple process - and we’ll walk you through it.
How can you tell if your 3D printer is levelled?
Proper bed levelling is crucial to the success of any 3D printing project, but what actually is a level bed?
A 3D printer has a ‘build plate’, the plate on which the creation of your object occurs. This plate is a flat surface that is the ‘base’ of the 3D printer, and the printing nozzle undertakes all printing and layering on it.
The layering process that takes place during a 3D process is undertaken by a machine that simply completes the task at hand. The printer assumes that everything is correct, and continues with the construction of your object. With an unlevel bed, this can be an issue.
The first layer of a project should be consistent and have neat lines all the way through, with zero imperfections. The other most common ways to tell if your bed needs levelling are:
- If the filament doesn’t stick to the surface as it should.
- If the filament doesn’t leave the nozzle when it should.
- The filament has an inconsistent height across the surface.
- The space between the lines of the filament is inconsistent.
If any of these issues occur, we recommend re-levelling your printer bed to see if it fixes it!
Step-By-Step Guide To Manual Bed Levelling
With these steps, you’ll be able to level your 3D printer’s bed in no time. All you’ll need for this process is a piece of blank paper.
Images Source/Credit: Teaching Tech on YouTube
Step 1: Bring The Bed To Your Normal Printing Temperature
Bring the bed up to the temperature that you normally print at. Let the temperature stabilize at this point.
Step 2: Auto-Home The Printer
Using the ‘auto-home’ function on the printer, we can ensure that the Z-axis is at 0. This is crucial for the levelling process.
Step 3: Disable Steppers
The ‘disable steppers’ function will allow you to move the print head and printing bed around freely.
Step 4: Position The Nozzle Directly Above The Levelling Knob
This is crucial to the process. Ensure that the nozzle is in line with the levelling knob.
Step 5: Place The Piece Of Paper Between The Nozzle And The Printing Bed
Simply position the piece of paper between the bed and the nozzle. Don’t worry if there’s a large gap between them, as this process will rectify it.
Step 6: Turn The Levelling Knob To Bring The Bed And Nozzle Closer
Simply turn the levelling knob to bring the bed and nozzle closer together. This may take a while if you have a large gap between them. By sliding the paper back and forth, you’ll eventually be able to feel light friction on the paper. Once you feel this light tension, stop.
Step 7: Repeat This Process For All Four Corners, Then As Needed
Repeat this process on each corner to ensure that each corner of the bed is even. Then, repeat the process again for each corner and make small adjustments until all four corners are correct.
Step 8: Print A First Layer
This should ensure that the bed is correctly levelled. However, always make sure to print out a simple first layer to ensure that everything is correct.
What is Automatic Bed Levelling?
Automatic Bed Levelling is a fairly new technology that has been implemented into newer 3D printers, to help keep your bed level at all times. Instead of checking manually, Automatic Bed Levelling will allow you to create what’s known as a ‘bed mesh’.
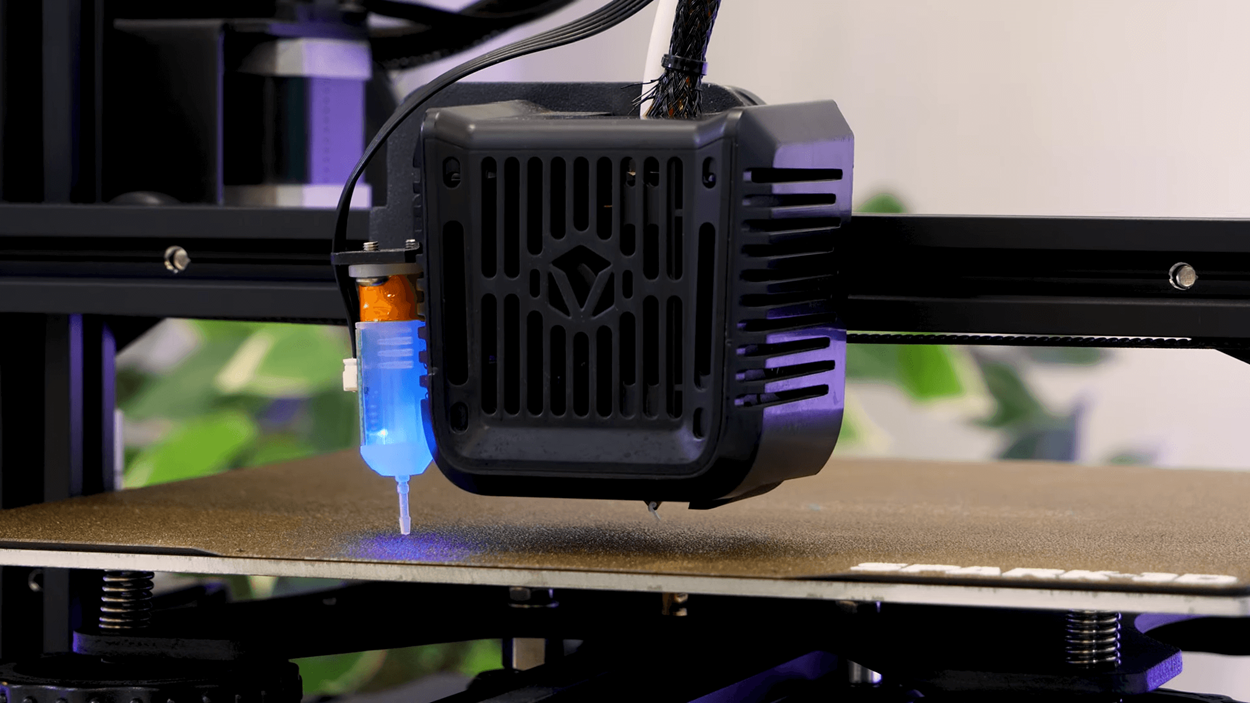
As you can see from the Spark 3D printer using a touch probe above, the printer will use the bed mesh to automatically ensure the bed is levelled before undertaking any tasks. This removes the need to check and verify that your bed is levelled properly every time you want to print. However, it’s still best to check that your bed is levelled manually every once in a while.
Here are some of the best 3D Printers on the market that include Automatic Bed Levelling:
Spark 3D SP1 3D Printer